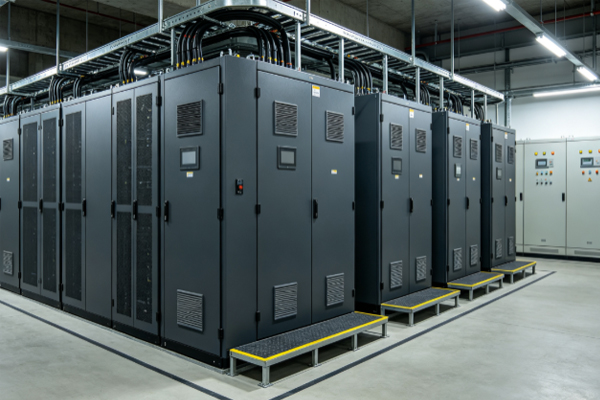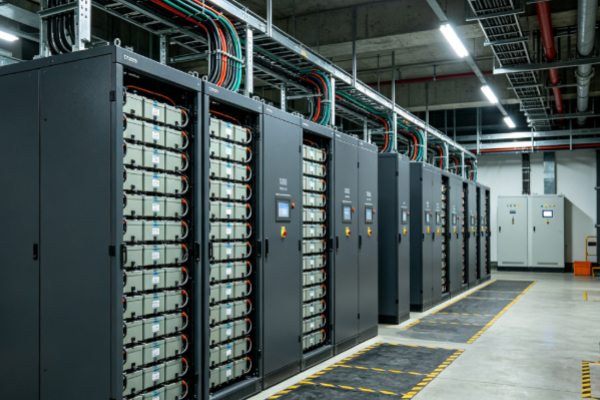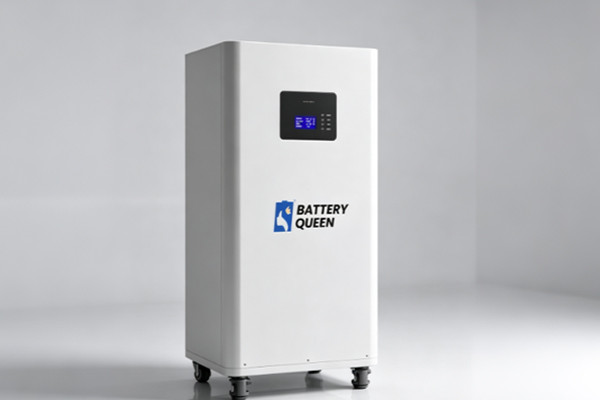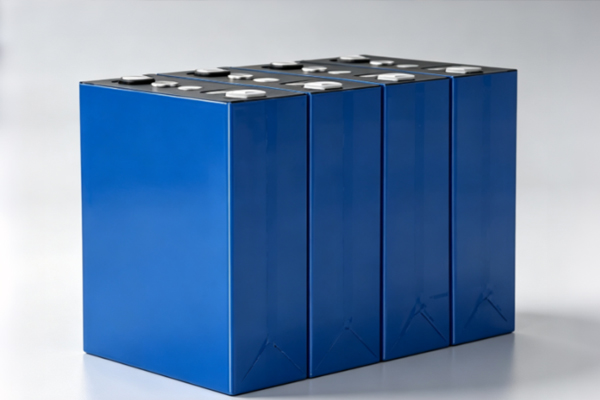
The Seplos V3 vertical (floor-standing) battery pack with 10A active balancer is a floor-standing DIY battery cabinet designed specifically for 48V home and small commercial energy storage systems. Featuring a modular vertical cabinet structure, it is compatible with 3.2V prismatic LiFePO4 cells and can be configured with mainstream 280Ah / 314Ah cells to form a 51.2V (16S) system, delivering approximately 15–16kWh of storage per cabinet.
It integrates a 16S 200A Seplos smart BMS and a 10A active balancer, supporting CAN / RS485 communication for stable integration with mainstream hybrid inverters. Each cabinet comes fully equipped with insulation and structural components from the factory — simply purchase the cells and assemble following the procedure. The product is widely recognized among DIY users, installers, and solar enthusiasts across the European market.
Key Highlights
1. Professional-grade 16S 200A Seplos Smart BMS: Stable CAN/RS485 communication compatible with most mainstream European inverters; real-time monitoring with multiple protections including over-voltage (OVP), under-voltage (UVP), over-current (OCP), and over-temperature (OTP).
2. 10A Active Balancer: Achieves balancing by actively transferring energy between cells (rather than passive resistive heat dissipation), extending overall battery life, maintaining cell voltage consistency under heavy loads, and increasing usable capacity.
3. Floor-standing Vertical Design: Saves wall space, offers a clean modern appearance, neat cable routing, and easy maintenance.
4. DIY-Friendly, Installer-Approved: Pre-fabricated structure with no drilling or modification required; supports mainstream LiFePO4 cells from EVE, CATL, and other major brands.
5. Flexible Expansion: Supports parallel connection of up to 32 units, with capacity expandable on demand.
Application Scenarios
48V home energy storage (15–16kWh), off-grid / grid-tied solar storage, home backup power, small commercial and office backup power, micro-grid energy storage, and more.
1. Battery cell voltage and internal resistance test。
2. Stick EVA foam and PC shim onthe cells。
3. Stick epoxy plate on the box wall。
4. Place battery cells in order。
5. Install the middle plate panel。
6. Place aluminum bar。
7. Install the top bar with PCB board。
8. BMS assembling。
9. Active-balance board assembling。
10. Connect the harness wire。
11. Connect active balance harness wire。
12. Connect harness wire to active balance board。
13. Connect the bus bar。
14. Install indicator light and LCD screen。
15. Mason 280 battery pack assembly complete BMS nceds SQC learning